Today I upgrading my router to LEDE 17.01 and played a bit with IPv6 and WireGuard VPN tunnels. My Internet connection at home (connected via Cable to the Comcast network) has decent IPv6 support, which I wanted to enjoy also when on the road, using non-IPv6 networks. The first step is to setup a Wireguard tunnel, which I already did some months ago (Dan Lüdtke, author of the LEDE/OpenWrt web interface plugin for Wireguard has a good post on that). Update April: Dan has a new post which does not make use of the stacked approach. This is suitable for lots of regular setups. However, the IPv6 address setup with automatic network assignment described here is only supported by using stacked interfaces, hence this article keeps using that configuration). In my setup the Wireguard IPv4 network uses a network from the private range (192.168.2.0/24) to route IPv6 traffic. For IPv6 my goal was to assign a public subnet, so I can access the IPv6 network without any NAT directly through the tunnel. In IPv6 world, NAT is a technology which is not commonly used/considered deprecated anyway. Note that this how-to does not route the IPv4 traffic to the internet through the VPN tunnel, only IPv6 traffic.
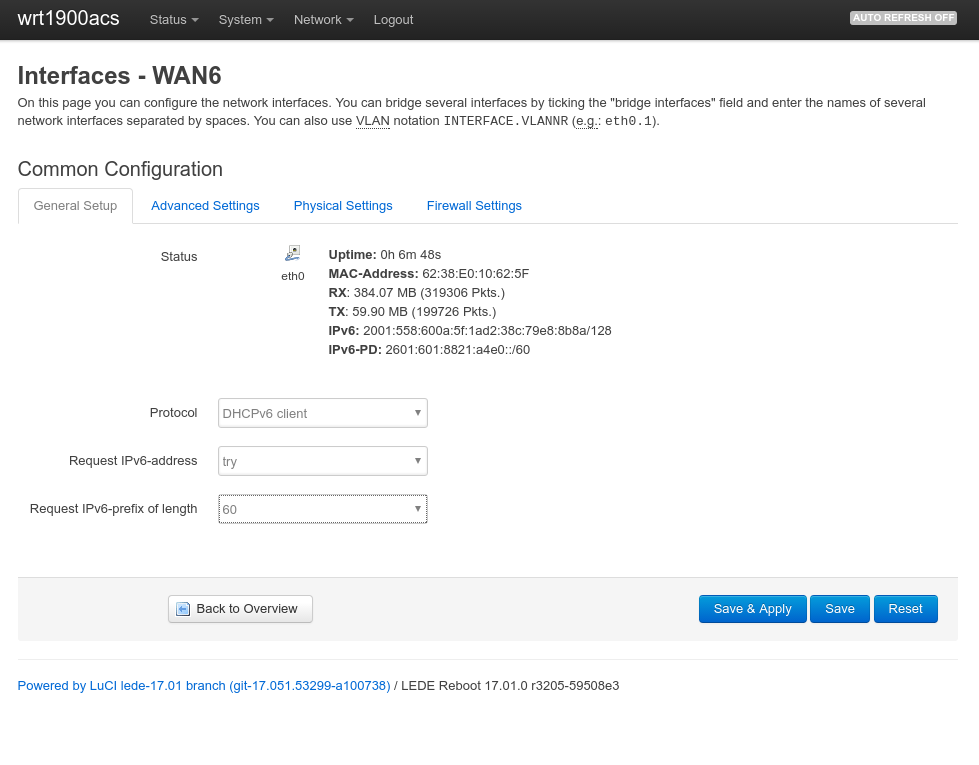
First, a large enough IPv6 prefix needs to be available on the router in order to assign two independent IPv6 networks to my local LAN and the Wireguard VPN. One has to realize that in IPv6 world, subnets are by definition between /49 and /64. One cannot create a subnet /72 or similar since the last 64 bits are the host portion, reserved exclusively for host addresses. By default, LEDE requested a 64 bit IPv6-prefix from the provider, but this can be changed in the WAN6 network interface settings:


